ACE COMBAT 8 Special Weapons: SASM, LACM & SOD
Compare ACE COMBAT 8 special weapons for air, ground and ship targets. Learn when to try SASM, LACM or SOD, manage two weapon slots, and avoid wasted volleys.
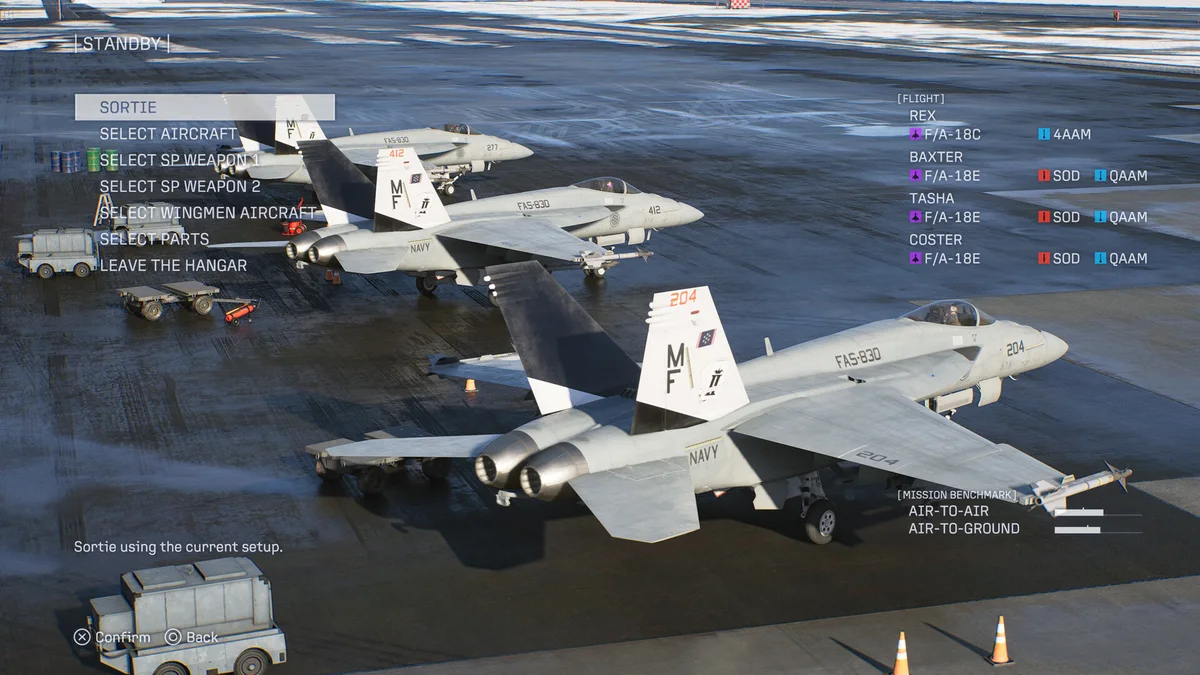
For campaign replays, SASM is a useful starting point against evasive aircraft, LACM against surface targets, and SOD against ground clusters. These are recurring player recommendations, not a measured universal ranking. Your aircraft must actually offer the weapon you want.
Reviewed October 18, 2026. This page combines attributed AC8 campaign reports with our attack-planning checklist. Exact damage, range, reload and payload values depend on the selected setup and are not independently measured here. Multiplayer balance is outside this comparison.
Jump to air weapons, surface weapons, two slots, or missed attacks. For aircraft choices, read the aircraft and loadout guide.
Air targets
The behavior column summarizes the campaign weapon discussion and SASM player reports. The final column is our suggested check after an attack. Scroll the table sideways on mobile.
| Weapon | Reported campaign use | Check after the shot |
|---|---|---|
| SASM | Nearby detonation can help against evasive aircraft | Did the target take damage, and is another pass needed? A near burst does not guarantee a kill |
| QAAM | A close-fight alternative discussed alongside SASM | Did the target evade or use countermeasures? Reposition before repeating the same launch |
| HCAA | Players report useful single-target air damage | Do not assume every aircraft or difficulty has the same shot-to-kill count |
| LAAM | Distant or spread-out air targets | Follow the HUD lock and range, then confirm the kill before switching objectives |
| Multi-target AAMs | Several available air targets; reports are mixed against scattering formations | Count surviving targets, rather than treating all lock indicators as kills |
For Mission 28, the existing community route uses SASM and gun attacks. Preserve the gun option when the special weapon misses or is reloading. A single successful volley does not establish a reliable boss damage threshold.
Ground and ship targets
Players in the same campaign discussion favor SOD for ground groups and LACM for surface work; the LACM/SASM thread also compares LASM against ships. This is a practical selection table, not a complete weapon catalogue.
| Weapon or family | Reported use | Our planning check |
|---|---|---|
| LACM | Surface targets and clustered installations | Select the intended target; watch for surviving components and incoming threats while the weapon travels |
| LASM | Anti-ship attacks | Check whether the hit reached the ship; do not assume immunity to defensive interception |
| SOD | Ground clusters | Align the attack with the group and inspect survivors before spending another round |
| Multi-target AGMs | Several surface targets | Inspect the actual lock distribution; avoid allocating a whole volley to an unimportant target |
| UGB / UGBL | Unguided bombing alternatives | Use the aiming cue and allow room to pull out of the attack |
| SFFS | An alternative for grouped surface targets | Compare the covered area with the cluster you need to remove; a spread is not proof every target died |
SASM and LASM are different weapons. In this comparison, SASM is the air-combat choice; LASM is the anti-ship option. LACM is another surface-attack choice, not an air-to-air substitute.
For Mission 16, identification comes before firepower. A powerful surface weapon does not identify the correct hostile ship. Once UAVs launch, switch to the airborne objective instead of continuing to shoot at an expected ship position.
One or two special weapons
AC8 campaign players report that selecting one or two special-weapon types changes the available payload. Check the final ammo counts in your own sortie screen after every selection. We do not prescribe a fixed split ratio or carry AC7 weapon counts forward.
Our comparison method:
- Select the aircraft and first weapon. Note its displayed stock.
- Add the second weapon and inspect both displayed stocks again. Fit the intended parts and recheck.
- For a mixed mission, ask whether the second weapon removes a specific threat that your gun and standard missiles cannot handle comfortably.
- For a focused replay, compare that flexibility with the stock available when concentrating on one type. Use the same difficulty and route for both attempts.
- Reserve enough of the scarce weapon for the last demanding phase. Do not spend a full volley on an almost-finished target simply because it is locked.
When a special weapon does not solve the target
Use this editorial troubleshooting order before changing aircraft:
- No valid lock: verify the selected weapon, target category and HUD range. Switch to an appropriate weapon or reposition.
- Missile launched but no clear damage: wait for the outcome, check terrain, target movement and defenses, then change the attack angle. Do not assume a bug or fire an identical second volley blindly.
- Some targets survive: reselect the remaining target or component. Save large-area weapons when a smaller follow-up can finish the pass.
- Repeated misses on an ace: watch for a better attack window and keep a gun pass available. PSM is an optional maneuver with its own recovery cost, not a guarantee of a hit.
- Useful weapon runs out early: revisit the one-versus-two-slot choice and relevant payload parts. Record remaining ammo at each mission transition.
For a parts example, StormXTS's campaign guide separates SASM and SOD builds. That is a reason to read a part's affected weapon family, not to assume every special-weapon upgrade improves every weapon. See the loadout upgrade checklist.
Is SASM always better than QAAM?
The cited campaign players often favor SASM against evasive targets, but that is not a controlled comparison of every aircraft, part set or mode. Compare repeat attempts against the target that is causing trouble.
Can LACM or LASM always bypass ship defenses?
Do not rely on that. Player accounts differ about interception and approach conditions. Observe the impact and remaining ship targets before deciding the attack succeeded.
Where are the exact weapon damage and reload tables?
This guide does not publish unverified numerical stats. Use your current hangar values for the selected setup, and keep campaign results separate from online tests.